Back Office: Batch Settings
Sign into the Back Office.
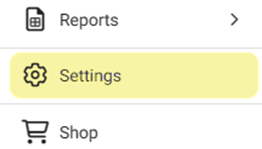
On the left-side Navigation Panel, click Settings. The Settings page appears.
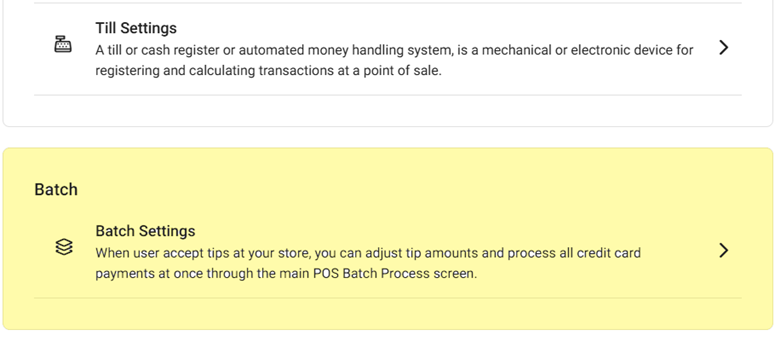
Under Batch click Batch Settings. The Batch Settings page appears.
Show Sale Type Transaction in Batch Report – if Enabled (YES), the Transaction Type column will appear on Batch reports.
Enable Auto Batch – If Enabled (YES), then select the Time (clock view).

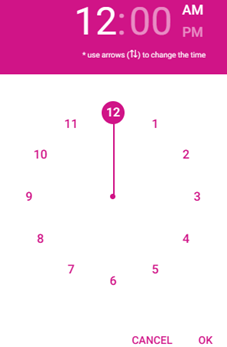
The batch will run automatically for the chosen Time (clock view). If Disabled (NO), the batch will occur manually.
Print Batch Report – If Enabled, the Batch report will be printed after submitting the batch.
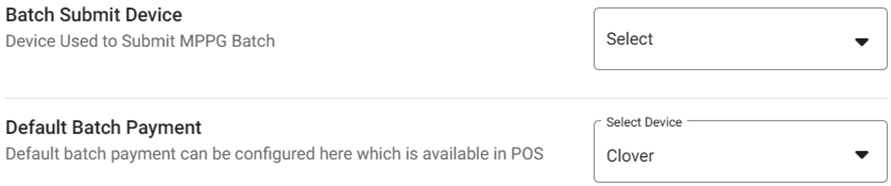
Batch Submit Device – Select the device to submit the batch from the dropdown (options configured with MPPG and SPPax devices).
Once
the device is selected, be sure to always submit the batch from that device
only (such as A001, A002).
Default Batch Payment – Select
the default type of payment Device for the batch from the dropdown (such
as MPPG Credit Card or SPPax).
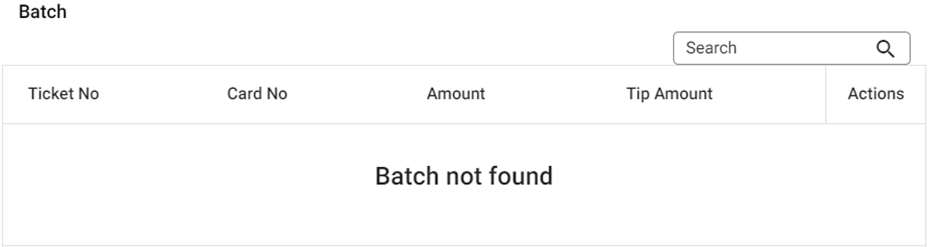
Batch - Displays the list of all the Batches that are available in POS. When no closed tills are added, the message ‘Batch not found’ appears.
The Search option applies to values in all columns.
Related Articles
Retail Back Office: Batch Settings
Navigation: Sign into the Back Office for your Retail Store. On the left-side Navigation Panel, click Settings. On the Settings page, under Batch click Batch Settings. On the Batch Settings page: Show Sale Type Transaction in Batch Report – if ...
Back Office: Batch Report
Sign into the Back Office and select a Store. On the left-side Navigation Panel, click Reports then Batch. The Batch page displays Batch Report activity based on the following selections: Node: Select from the list of registered POS Nodes (one or ...
Back Office: Online Ordering - Batch
Sign into the Back Office. On the left-side Navigation Panel, select Online Ordering. On the Online Ordering page, click Batch. The Batch page appears, which displays a table view of Batch transactions. Note: You can conduct a Search, filter by ...
Back Office: Payment Method Settings
Sign into the Back Office. On the left-side Navigation Panel, click Settings. The Settings page appears. Under Payments click Payment Method. The Payment Method page appears. If no Payment Methods exist, the message ‘Payment Method not found’ ...
Retail Back Office: EMV Payment Settings
Navigation: Sign into the Back Office for your Retail Store. Click Settings, then on the Settings page under Payments click EMV Settings. The EMV Settings page displays a table of EMV Settings currently existing for this Store. If no EMVs have been ...