Back Office: Import/Export
Navigation: Sign into the Back Office. On the left-side, select Products/Items then Import/Export.
The Import/Export page enables you to configure a Store’s Menu Items via File Upload, and contains the following options:
- Download Template – Select Minimal Sheet or Complete Sheet to download that version of the spreadsheet (MS Excel) template file.
- Download Data – Select Minimal Sheet or Complete Sheet to download that version of the spreadsheet (MS Excel) template file that includes data.
Perform a Menu Import
- Fill in the downloaded Template file as needed then save it. Make a note of where it’s saved.
- When the file is ready, click Import. The Import Menu pane appears.
- Select Sheet Type – Select Minimal or Complete.
- Preview Menu – Select Yes to show a preview, or No.
- Upload Menu Template – Click Upload Menu Template. On the file navigation window that appears: navigate to where your file was saved and double-click the file (or single click then click Open).
- You're returned to the Import Menu pane where the file name (defaults to [Restaurant Name]'s Menu WB]) will appear in the Upload Menu Template section.
- When you’re ready to import the file, click Import at the bottom-right. You're returned to the main Import/Export page where a progress bar appears.
- After a few moments: once the import completes, the Import Status will appear as below:
- File Name: The name of the file that was uploaded ([filename].xlsx)
- Uploaded On: The date the file was uploaded (DD -Mon-YYYY HH:MM AM/PM format)
- Status: The status of the import - such as Completed, Partially Completed or Failed)
Import Error
If there's an error with the import:
The Download Error List will appear above the Status, with a link to download a version of the upload file that includes cited errors. The Status will appear as Partially Completed [DD-Mon-YYYY HH:MM AM/PM].

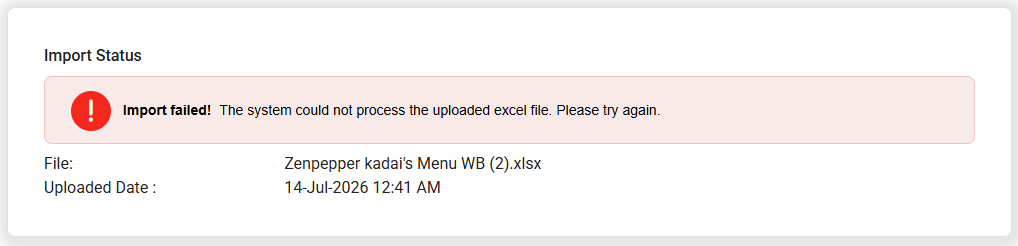
Import Failed
If the import outright fails: the Import failed! banner appears, followed by the File you attempted to upload along with the attempted Uploaded Date.
Related Articles
Retail Back Office: Products/Items - Import/Export
Navigation: Log into the BO for your Store, then select Product/Items > Import/Export On the Import/Export page, you can Import or Export to handle data. Download Template When Complete Sheet is selected, it downloads the Import file (File Name: ...Back Office: Enterprise - Customers
Sign into the Back Office. On the left-side Navigation Panel, click Customers. Under Customers are options to access pages for Customers or Memberships: Customers Memberships Customers When selected, the existing Customers’ details will be shown as a ...Retail Back Office: Enterprise - Customers
Navigation: Sign into the Back Office. On the left-side Navigation Panel, select Enterprise then Customers. When selected, the existing Customers’ details will be shown as a table with the following columns: Image, Name, E-Mail, Phone Number, Loyalty ...Retail Back Office: Products/Items - Products/Items
Navigation: Log into the BO for your Store, then select Product/Items > Product/Items The Products/Items page appears, which displays a table for Retail Items. Create a New Retail Item (or Update an Existing Retail Item) Click + New Retail Item at ...Back Office: Comparison Report
Sign into the Back Office and select a Store. On the left-side Navigation Panel, click Reports then Comparison Report. When a Dashboard tab has a Time Period dropdown: Today – The report will run based on Today’s store business date. Yesterday – The ...