Back Office: Marketing Customers
- Sign into the Back Office then select a Store.
- On the left-side Navigation Panel, select Marketing then Customers. The Customers page appears, displaying your customers’ details.

- Tiles appear at the top of the page, representing the Total number of Customers – then within that the number of New/Recurring customers, House Accounts, and Memberships at the top of the page.
- Existing customers’ details will appear in the table below the tiles – with columns for customers’ info: First Name, Last Name, Email Id, Phone Number, Store Name, Status, Customer Type, and their number of Loyalty Points.
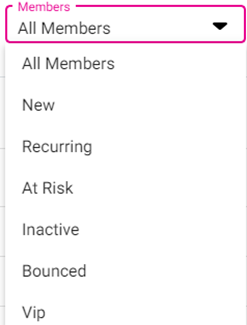
Filter by the type of members by selecting an option from the Members dropdown: All Members (default), New, Recurring, At Risk, Inactive, Bounced or VIP. Only one option can be selected at a time.
Note: VIP will accrue Life Points which are a total accumulation of all earned loyalty points
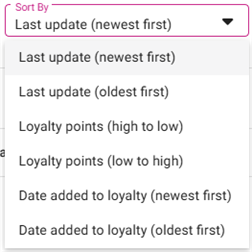
Select how to sort the table results by selecting an option from the Sort By dropdown: Last update (by newest or oldest), Loyalty points (by high or low), Date added to loyalty (by newest or oldest).
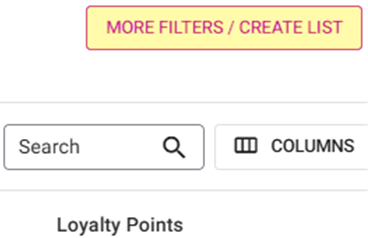
- Select the More Filters / Create List button to further filter your table results.
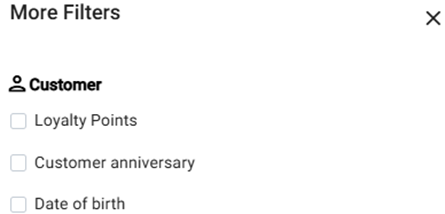
- The More Filters pane appears, with the following options: Loyalty Points, Customer anniversary, or Date of birth. Select the corresponding box to enable it as a filter:
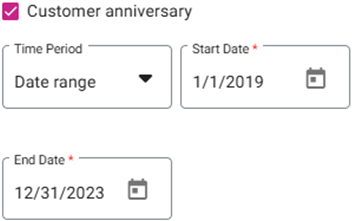
- Customer anniversary – Select from the Time Period dropdown to filter by the date of a customer’s anniversary: Today, This week, This month, or if Date range is selected then select the Start Date and End Date (calendar picker).
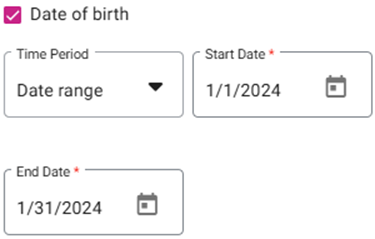
Date of birth – Select from the Time Period dropdown to filter by the date of a customer’s birthday: Today, This week, This month, or if Date range is selected then select the Start Date and End Date (calendar picker).
- When all filters are ready to be applied to the table results, click Apply.
- Click Clear at the bottom-left to de-select all options and close the pane.
- Click Close (x) at the upper-right to close the pane without applying any current selections.
You are returned to the main Customers page where all selected options from the More Filters pane will appear and apply to the table’s results. Filters can be removed by clicking the x next to the Filter Name, or to clear all filters you can click Clear next to the Save As List button.

- To save the filtered results as a list, click Save As List. The Create a List pop-up appears, with the following tabs:
- Click Cancel or Close (x) to cancel creation of the List.
- When advancing through the pop-up, select Back to revert to the previous tab.
- List Name – (Mandatory) Enter the name you’d like to call the filter list. Once List Name is entered, click the Next button at the bottom-right to proceed to the next tab.

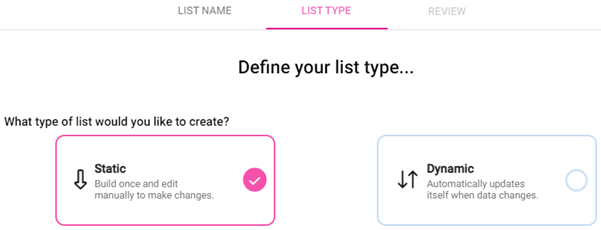
- List Type – Select Static ([Default] future updates require manual changes) or Dynamic (updates automatically per data changes). With a Type selected, click Next.
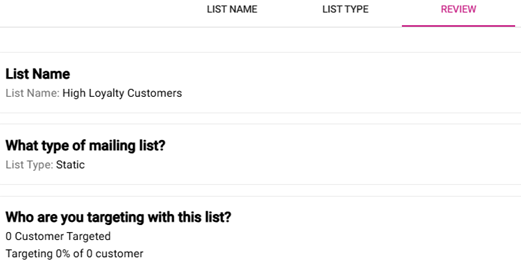
- Review – Displays a high-level view of all your selected List options including the Name and Type, along with the target results (number of customers and the corresponding percentage [%]). Select Save List to save these settings as the named list. You are returned to the Customers screen where the confirmation message ‘The list you created has been successfully saved’ appears.
- Select Edit to return to the List Name tab and make any updates as needed.
- Select Close (x) at the upper-right (or Cancel) to return to the Customers screen without creating the List.
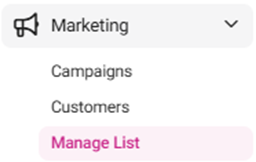
- Created Lists can be managed under Marketing > Manage Lists.
Related Articles
Retail Back Office: Marketing - Customers
Navigation: Sign into the Back Office for your Retail Store, then select Marketing > Customers. The Customers page appears, displaying your customers’ details. Tiles appear at the top of the page, representing the Total number of Customers – then ...
Back Office: Marketing Settings
Sign into the Back Office then select a Store. Onhe left-side Navigation Panel, select Marketing then Settings. The Settings page contains options to quantify the thresholds for types of Customers. Enter the number for each field, or use ▲/▼ to ...
Back Office: Marketing Campaigns
Sign into the Back Office. Select a Store. Then on the left-side Navigation Panel, select Marketing then Campaigns. The Campaigns screen displays a table containing the created marketing campaigns, with the following columns: Name: The name of the ...
Back Office: Manage Marketing Lists
Sign into the Back Office then select a Store. On the left-side Navigation Panel, select Marketing then Manage List. The Manage List screen contains a table of created marketing Lists, with the following columns, based on selections made when ...
Retail Back Office: Marketing - Settings
Navigation: Sign into the Back Office for your Retail Store, then select Marketing > Settings The Settings page contains options to quantify the thresholds for types of Customers. Enter the amount for each field, or use ▲/▼ to increase/decrease the ...