Back Office: Sub Categories
Sign into the Back Office.
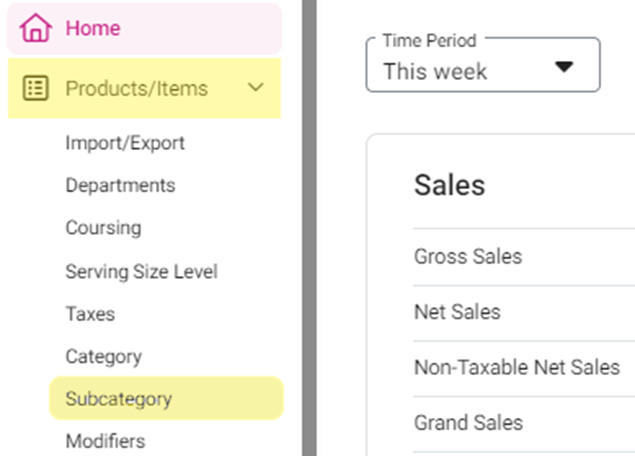
On the left-side Navigation Panel, click Products/Items then click Subcategory.
On the Subcategories page, click + New Subcategory at the top-right.

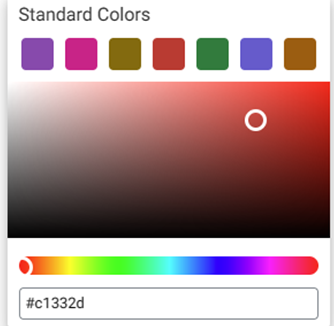
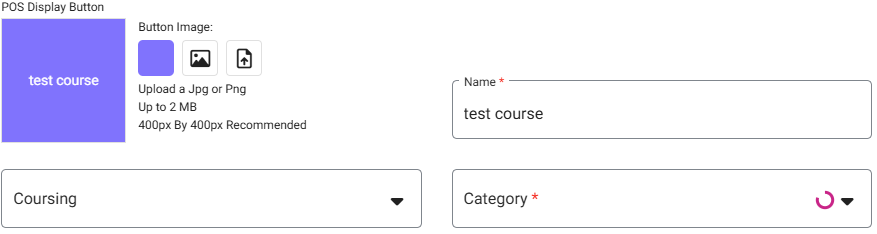
POS Display Button - Click the small colorized square next to the large one. The Standard Colors pane appears. Select the Standard Color and use the slider to adjust the shade.
Enter the Name (appears on the Display Button), then select the Coursing (meal course) and Category from the respective dropdowns.
You can create new
Coursings or
Serving Sizes if needed.
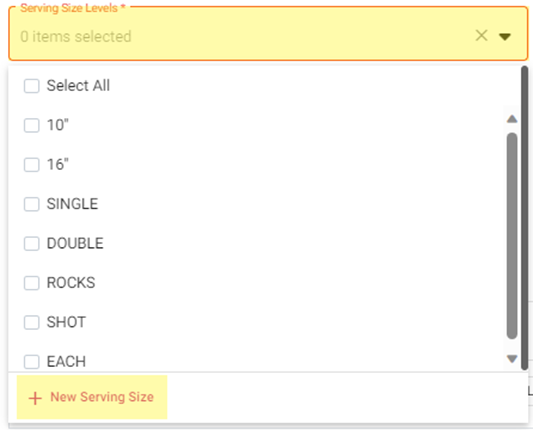
Select the Serving Size Levels. If you select Yes for Apply default serving size levels, the Serving Size Levels will be auto-selected based on the Category.
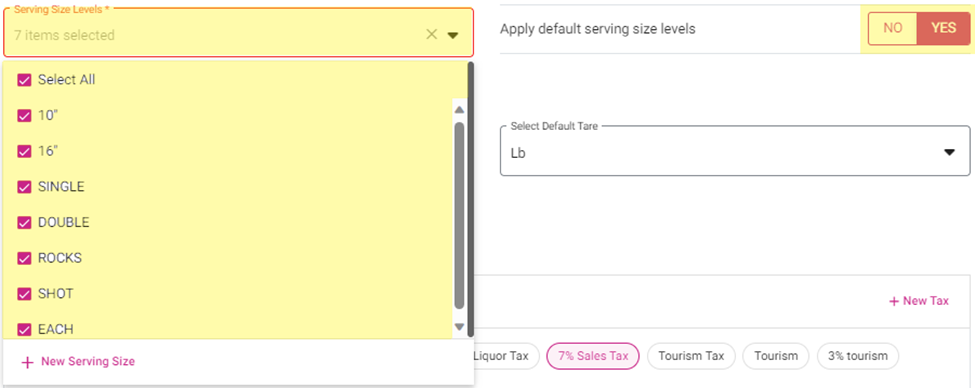
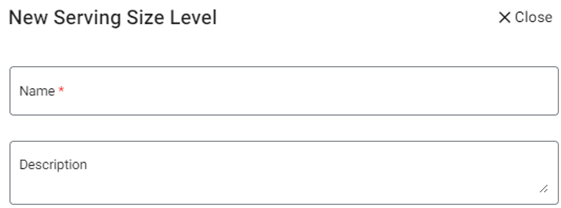
Also, you can create a new one by clicking + New Serving Size (the New Serving Size Level pane appears). Enter the Name and Description then click Save. The new Level will be added as an option on the Serving Size Level dropdown.
Select the Tare Group then the Default Tare from the dropdowns.

Select the Tax from the options (click Show All to expand to the full set of options). To implement the default structure, slide the Inherit Default Tax toggle On (to the right).
If you need to add a new Tax, click + New Tax. The New Tax pane appears.

Enter the Name and (if necessary) Code.
Select the Tax Type.
Amount – Enter the Amount ($).
Percentage – Enter the Percentage (%).
Select whether to Include the Tax in the Daily Summary Report.
Select where to Apply the Tax To.
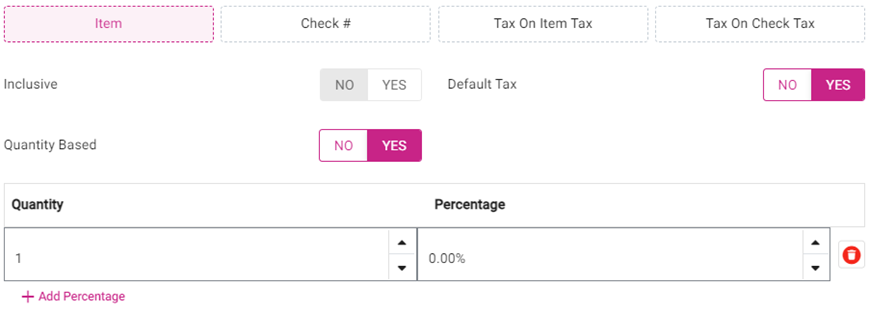
Item – If the Tax Type is Percentage, select whether it’s Inclusive and if it’s the Default Tax. If it’s Quantity Based, enter the Quantity and the corresponding Percentage. Note: you can add multiple levels of Quantities and Percentages by clicking + Add Percentage.
Check # - Enter the Check Amount, and whether to Apply at the Subtotal level.
Tax On Item Tax – Select what to Apply For Item Taxes. If necessary, click Show All to expand the options.
Tax On Check Tax – Select what to Apply For Check Taxes. If necessary, click Show All to expand the options.
When done creating the new Tax, click Save.
Select the Availability:
Always – Subcategory will be available at all times.
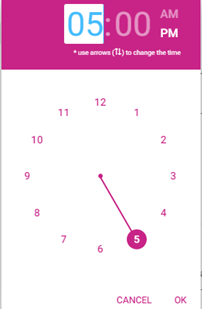
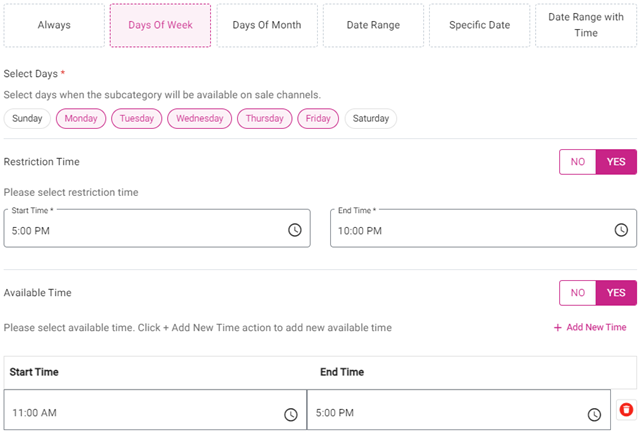
Days Of Week – Select the Days the Subcategory applies. If there’s any times during those days to Restrict the Subcategory, then select Yes for Restriction Time and enter the Start and End Times the Subcategory is unavailable. If there’s any times during those days that the Subcategory is Available, then select Yes for Available Time and enter the Start and End Times the Subcategory is available.
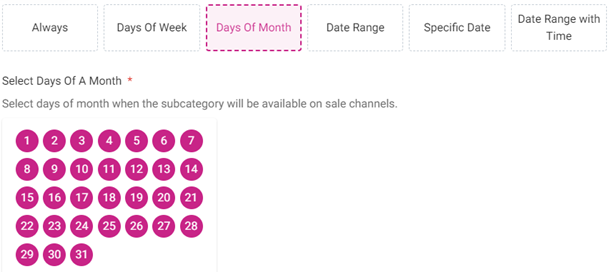
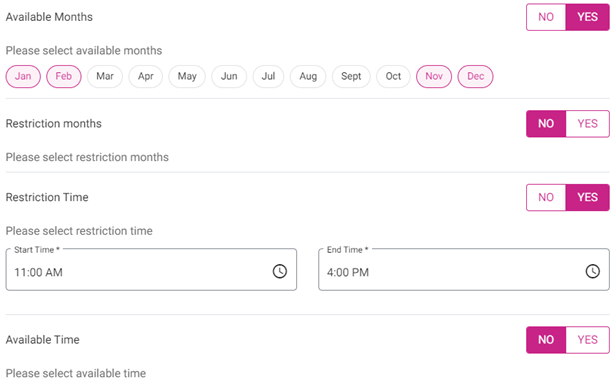
Days Of Month – Select the Days of each Month the Subcategory will be available. Select the Months where the Subcategory will be Available or Restricted, then select the Times during those months when it will be Restricted or Available.
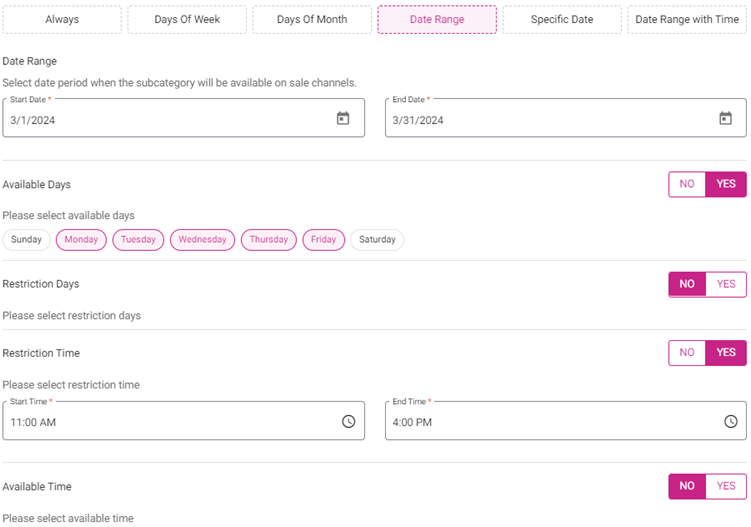
Date Range – Enter the Start and End Dates. Select the Days when the Subcategory will be Available or Restricted, then select the Times during then it will be Restricted or Available.
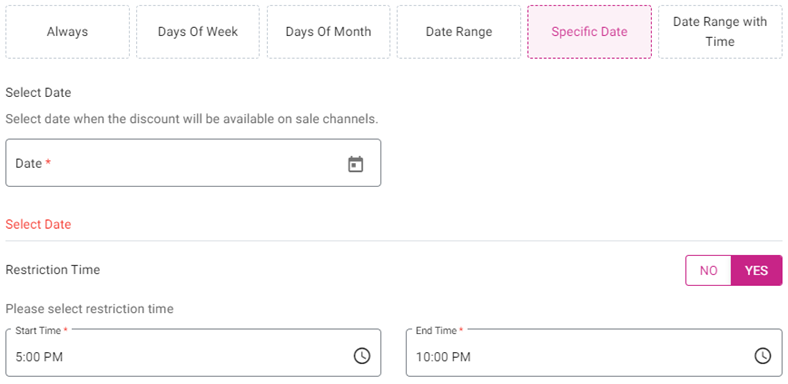
Specific Date - Enter the single date the Subcategory will be available. If there’s any time during that to Restrict the Subcategory, then select Yes for Restriction Time and enter the Start and End Times the Subcategory is unavailable.
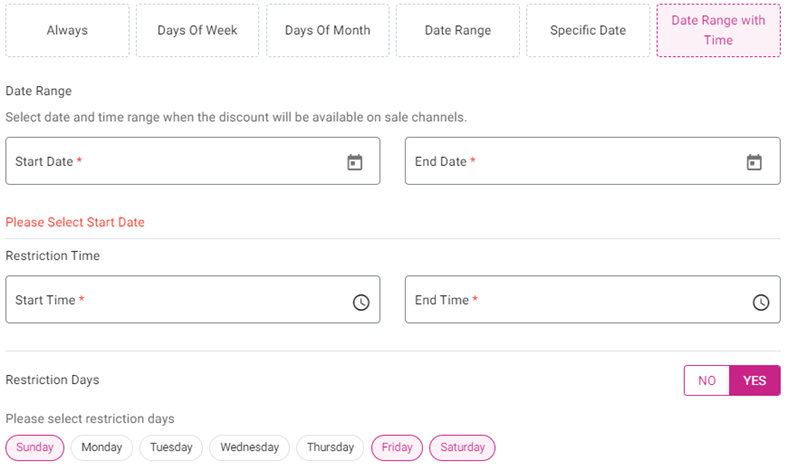
Date Range with Time – Enter the Start and End Dates followed by the Start and End Times. If there are any days during that Range to Restrict the Subcategory, then select Yes for Restriction Days and select the Days the Subcategory is unavailable.
Select the Visibility options.
Select whether to Hide the Subcategory: in the POS, in the Online Order, and the Menu Item in the Kiosk.
Select whether to have the Subcategory appear as Conversational.

Select whether to Enable an Age Restriction, and Exclude a Check Tax and Gratuity for the Subcategory.

Select the applicable Kitchen Printer(s). To implement the default structure, slide the Inherit Default Kitchen Printer Settings toggle On (to the right). You can also add a new Kitchen Printer by clicking + New Kitchen Printer.

Select the applicable Label Printer(s). To implement the default structure, slide the Inherit Default Label Printer Settings toggle On (to the right). You can also add a new Label Printer by clicking + New Label Printer.

- Select the applicable Service Types to Restrict Printing. To implement the default structure, slide the Inherit Default Restrict Printers Settings toggle On (to the right).
When the new Subcategory is ready, click Save and Publish at the top-right.

Related Articles
Back Office: Inventory Sub Categories
Sign into the Back Office then select a Store. On the left-side Navigation Panel, click Inventory then Subcategory. The Subcategory page appears, including the Total Value on Hand, along with a table containing the following columns: Name – Displays ...
Retail Back Office: Inventory - Sub Category
Navigation: Sign into the Back Office for your Retail Store, then select Inventory > Subcategory The Sub Category page appears, including the Total Value on Hand, along with a table containing the following columns: Name – Displays the subcategory’s ...
Back Office: Inventory Items
Sign into the Back Office. On the left-side Navigation Panel, click Inventory then Inventory Item. The Inventory Item page appears, with tabs for Inventory Items and Retail Items – along with a Select Categories dropdown and a Total Value On Hand. ...
Back Office: Enterprise - Reports
Sign into the Back Office. On the left-side Navigation Panel, click Enterprise. Then click Enterprise Reports. Under Enterprise Reports are options to access specific reporting Dashboards: Sale Report The Sale Report dashboard contains reporting of ...
Back Office: Inventory Report
Log into the Back Office and select a Store. Under Reports > Inventory Reports. On the Inventory Reports dashboard, select a tab. Master Stock Purchased Item Consumption Log Compare Inventory Count Sheet COGS Adjust Inventory Inventory Item History ...