Back Office: Store Inventory Settings
Sign into the Back Office.
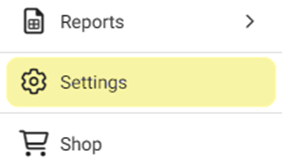
On the left-side Navigation Panel, click Settings. The Settings page appears.
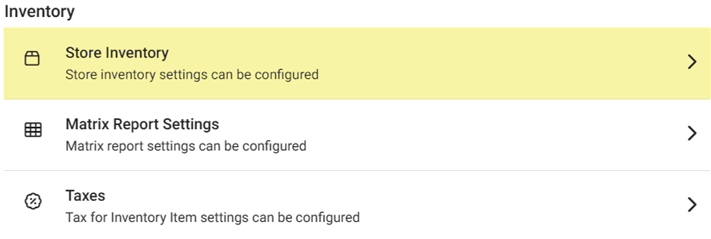
Under Inventory click Store Inventory. The Store Inventory screen appears.
At the top is a listing of the reports utilizing the Business Date and Calendar Date.
Business Date – Select the date (calendar view) when Inventory Business Date reports and operations will run.

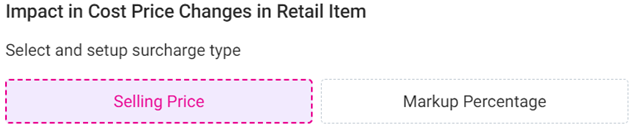
Impact in Cost Price Changes in Retail Item – Select Selling Price or Markup Percentage.
Selling Price – Makes changes in selling prices which impacts retail items.
Markup Percentage - Makes changes to percentages which impact retail items.
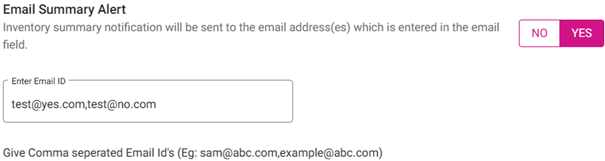
Email Summary Alert – If Enabled (YES), a low stock notification will be sent to the entered Email Address(es). To add multiple Addresses, put a comma (,) between them. If Disabled (NO), no notification will be sent.
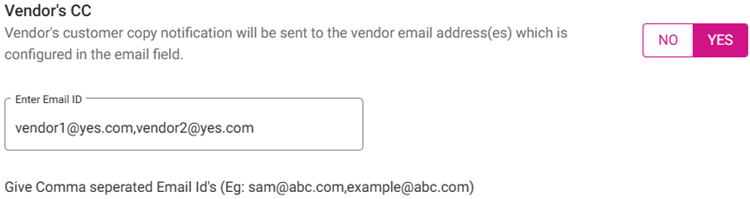
Vendor's CC – If Enabled (YES), a vendor copy of the low stock notification will be sent to the entered Email Address(es). To add multiple Addresses, put a comma (,) between them. If Disabled (NO), no notification will be sent.
Enabled Stock Expired Alert – If Enabled (YES), you’ll be alerted when your stock is close to expiration. If Disabled (NO), there will be no low stock alert.

Auto Remove Expired Stock – If Enabled (YES), expired stock will be removed automatically. If Disabled (NO), it will not be auto-removed.

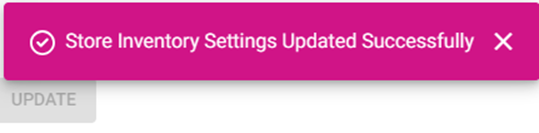
Click Update to save any updates to the Store Inventory page. A spinning circle animation will appear in the middle of the screen, for a moment, then the pink confirmation banner ‘Store Inventory Settings Updated Successfully’ appears.