Back Office: Store Payment Settings
- Sign into the Back Office and select a Store (for Enterprise accounts only).
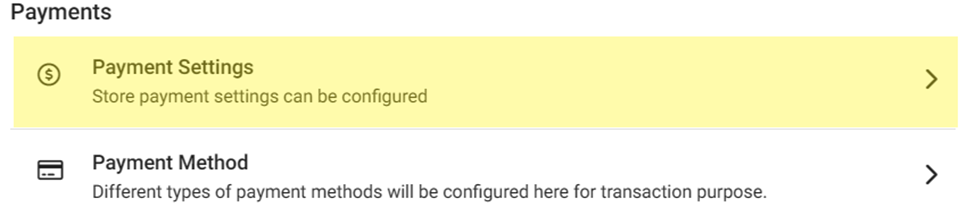
- On the left-side Navigation Panel, click Settings.

- On the Settings page, under Payments click Payment Settings.
- Manual Submit for Credit Card – If Enabled (set to YES), then after taking payment a Bartender or Server must press Submit to close an Order.
- Tokenize the Credit Card – If Enabled (set to YES), then Card details will be saved for the selected (highlighted in pink) Service Type(s).

Restrict Loyalty Payment on Membership Discount – If Enabled (set to YES), if a Member Discount is applied, payment via loyalty credit will be restricted.

- Include Service Charge for Refunds - If Enabled (set to YES), then Refunds will include any previously applied Service Charge.

- For Payment Surcharge, select Yes (Enabled) then select the desired Surcharge Type:
- Surcharge (formerly Cash Discount)
- Enter the Fee Name (Mandatory, maximum 25 characters). Displayed on the Receipt.
- Enter the Surcharge Name (maximum 25 characters). Displayed in the POS/Receipt.
- Enter the Surcharge Percentage (Mandatory, cannot exceed 100). Used to calculate the discount in the POS.

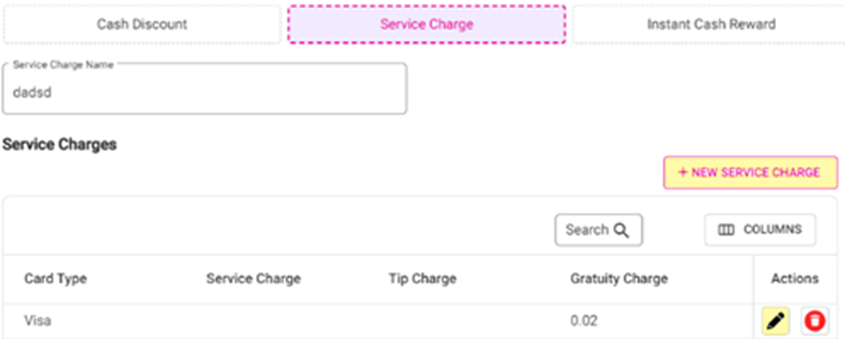
Service Charge
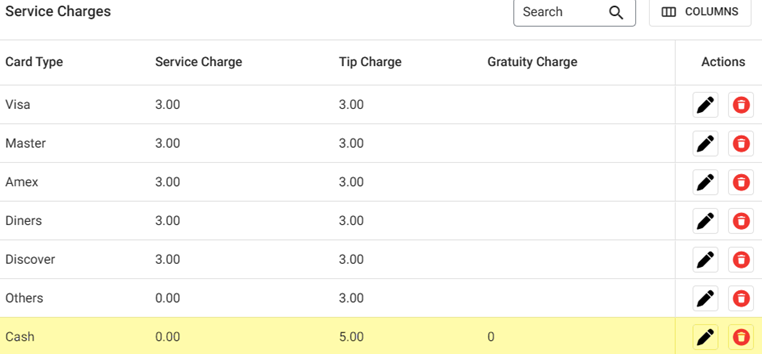
- When clicked, you can view the list of all the previously created Service Charges, with the corresponding Service, Tip and Gratuity Charges – along with Actions to Edit or Delete. If no Service Charges currently exist, then the message Service Charge not found appears.
- To create a new Service Charge, click + New Service Charge on the right – the New Service Charge pane appears. To edit an existing Service Charge, click Edit (pencil icon under the Actions column – the Update Service Charge pane appears.
- On the New/Update Service Charge pane:
- Select the Card Type (includes Cash, Credit Cards, Gift Cards, ATH, EBT, etc.).
- Enter any Service Charge (percentage with up to two decimal points, cannot exceed 100).
- Enter any Tip Charge (percentage with up to two decimal points, cannot exceed 100).
- Note: It is not mandatory to enter both a Service Charge and Tip Charge, but at least one of the two must be entered.
Enter any Gratuity Charge (percentage with up to two decimal points, cannot exceed 100).
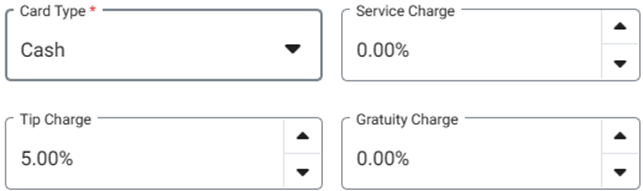
- When the Service Charge is ready to be created or updated, click the Save & Add or Update button at the bottom right. The service charge will appear as a listing on the main Payment Settings table, with the corresponding entered Charge type(s).
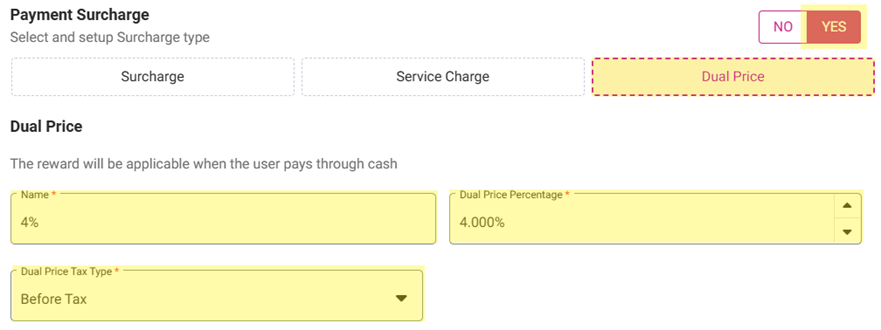
Dual Price (Cash Reward)
- Enter the Name (how it will appear on the receipt).
- Enter the Percentage amount of the reward (discount on the price).
- Select whether it will apply Before or After Tax.
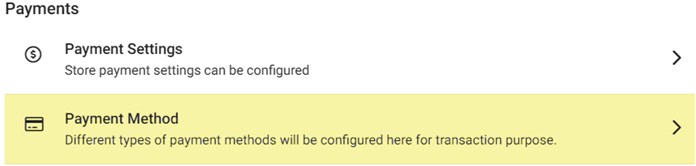
To Exempt a Surcharge from a Payment Method:
- Navigate to Settings > Payments > Payment Methods.
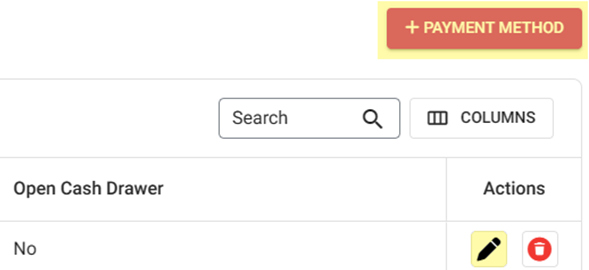
- Click + Payment Method or click the pencil icon on an existing Payment Method. A pane appears on the right side of the screen.
On the Payment Method pane: to exempt the Payment Method from the Surcharge, ensure that Exempt Surcharge is Enabled (YES). Click Save or Update to confirm.
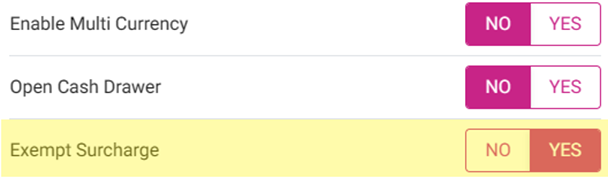
Note: In POS, when selecting a Payment Method with a Surcharge for a check, the Surcharge Type will be applied. When there’s a Method that’s Surcharge Exempt, the field will appear as 0.00.
Related Articles
Retail Back Office: Store Payment Settings
Navigation: Sign into the Back Office for your Retail Store. On the left-side Navigation Panel, click Settings. On the Settings page, under Payments click Payment Settings. On the Payments Settings page: Tokenize the Credit Card – If Enabled (set to ...
Back Office: Payment Method Settings
Sign into the Back Office. On the left-side Navigation Panel, click Settings. The Settings page appears. Under Payments click Payment Method. The Payment Method page appears. If no Payment Methods exist, the message ‘Payment Method not found’ ...
Retail Back Office: Payment Method Settings
Navigation: Sign into the Back Office for your Retail Store. On the left-side Navigation Panel, click Settings. On the Settings page, under Payments click Payment Method. The Payment Method page displays a table of Payment Methods that were created ...
Retail Back Office: EMV Payment Settings
Navigation: Sign into the Back Office for your Retail Store. Click Settings, then on the Settings page under Payments click EMV Settings. The EMV Settings page displays a table of EMV Settings currently existing for this Store. If no EMVs have been ...
Retail Back Office: Layaway Settings
Navigation: Sign into the Back Office for your Retail Store. On the left-side Navigation Panel, click Settings. On the Settings page, under Retail POS click Layaway Settings. The Layaway Settings page enables you to configure layaway conditions, such ...