Retail Back Office: POS Custom URL Application Settings
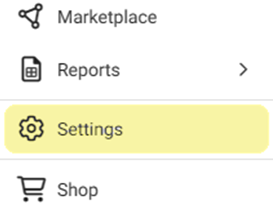
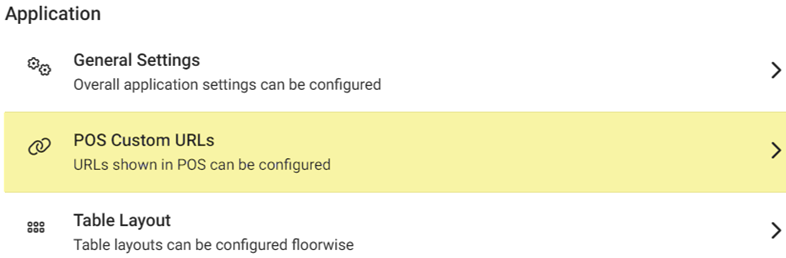
Navigation: Sign into the Back Office for your Retail Store. On the left-side Navigation Panel, click Settings. On the Settings page, under Application click POS Custom URLs
- POS Access URL – Toggle to Enabled (YES [Default]) to add URL Links (up to 10 can be added). If Disabled (NO), all created links will be deactivated.
Add or Edit a Custom URL
- Click + URL Link to create a new URL Link – or click the pencil icon to update an existing URL Link. Up to 10 URLs can be added per Store.
- The POS Custom URL pane appears, with fields for Name and URL, and a process for uploading an image to represent the URL:
- Enter the Name (mandatory) maximum of 25 characters [can include numbers and spaces]).
- Enter the URL (mandatory). It must be a valid URL [link to a currently existing website] and cannot be identical to another currently existing Custom URL – otherwise if Save/Update is clicked the message URL already exists appears).
- Image Upload (mandatory) – Click the Upload New Image
button. The file explorer pop-up window appears. Find the image to represent the URL, then double-click it - or single-click then click Open.
- .
- When all updates are complete, click Save or Update at the bottom-right. If successful, you are returned to the main POS Custom URLs
page and the banner message POS Custom URL Saved Successfully appears at the top-right. - Click Cancel or X Close at to cancel any pending changes and return to the POS Custom URLs screen.
Delete a Custom URL
- Identify the Custom URL to delete, then click the corresponding Trash Can icon.
- On the Delete pop-up that appears: select YES to delete the existing URL Link.
- If No or X Close is select, you are returned to the main POS Custom URLs screen and the Custom URL remains.
- You are returned to the POS Custom URLs page with the Custom URL is removed, and the POS Custom URL Inactivated Successfully confirmation message appears.
Related Articles
Retail POS: Receipt Options - POS Custom URL
Back Office See the POS Custom URL article in Back Office. For Custom Buttons, see the General Application Settings article in Back Office. POS After the toggle is enabled in Back Office, with the URL and Image(s) configured: URL Receipt Option On ...Back Office: POS Custom URL Application Settings
Sign into the Back Office and select a Store. On the left-side Navigation Panel, click Settings. On the Settings page, under Application click POS Custom URLs. POS Access URL – Toggle to Enabled (YES [Default]) to add URL Links (up to 10 can be ...POS: Check Options - Custom URL
Back Office See the POS Custom URL article in Back Office. For Custom Buttons, see the General Application Settings article in Back Office. POS After the toggle is enabled in Back Office, with the URL and Image(s) configured: URL Check Option On the ...Back Office: General Application Settings
Navigation: Sign into the Back Office for your Store. On the left-side, click Settings. Under Application click General Settings On the General Settings page, the following features can be set: Prompt Tip Screen before Credit Card Screen - This ...Retail Back Office: General Application Settings
Navigation: Sign into the Back Office for your Retail Store. Select Settings, then under Application select General Settings. On the left-side Navigation Panel, click Settings. On the Settings page, under Application click General Settings. On the ...