Back Office: Manage Marketing Lists
Sign into the Back Office then select a Store.
On the left-side Navigation Panel, select Marketing then Manage List.
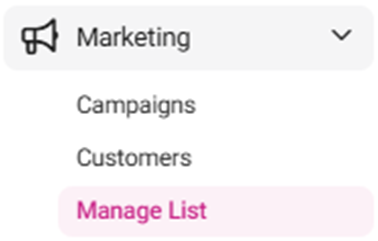
The Manage List screen contains a table of created marketing Lists, with the following columns, based on selections made when creating each List:
Name – The customer’s name.
List Type – The type of list (Static or Dynamic).
Customers Targeted – The number of customers targeted.
Sent Targeted – The number of Emails sent to the target group.
Actions – Select the Delete option to delete a List. The Delete pop-up appears, with options to select Delete or Cancel / X Close.
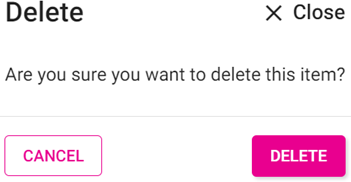
Delete – Deletes the list. It is removed from the Manage List screen.
Cancel / X Close – Keeps the List. It still appears on the Manage List screen.
If there are no existing Lists, the message ‘Manage List not found’ appears in the body of the table.
To create a new List, click + Create List. You are redirected to the Customers page (traditionally access when selecting Marketing > Customers). After a List is created from that page, you are redirected to the Manage List screen.