POS: Check Options - Submit an Order
On the Menu screen, select the  Option button at the bottom.
On the Check Options screen, select Order.
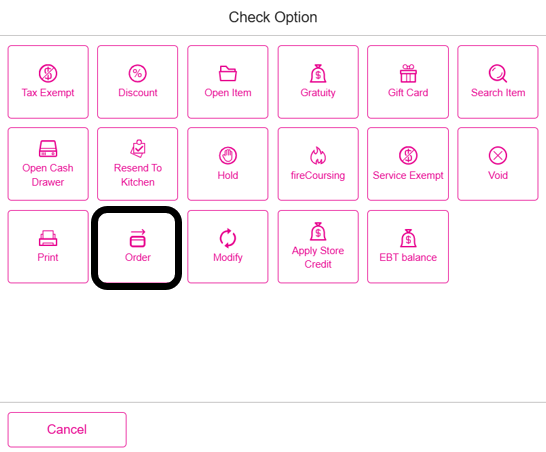
When Order is clicked, Menu Items from the Check will be send to the Kitchen.
Related Articles
POS: Payment Screen Options
Log in to POS, add Menu Items then click on the Payment option. On the Payments page: the options Tax Exempt, Add Gratuity, Discount and Print options will appear. Tax Exempt When Tax Exempt is selected: the Tax Exempt pop-up appears, and displays ...
Retail POS: Operation - POS Settings
Navigation: Log into POS, then select Operation > POS Settings Note: Only Employees with the proper Role and Permission settings have access to POS Settings. Till Settings This section is used to define the behavior of Till Management. Back Office ...
POS: Uber Eats Integration
For more information on the Uber Eats (UE) Integration, see the Uber Eats Knowledge Article. Uber Eats Orders Appearing in POS Once an Order is placed from Uber Eats, the message ‘You have 1 online order’ appears in POS. The Check will be listed ...
POS: Moneris Payments
Note: Moneris is available only on Native iPad in Canada. Back Office Admin Navigation: Login to BO then select Account > Store. Enable the Moneris option in the Store Settings section. [Account > Stores > Select the Store for which the respective ...
POS: Clover Payments
Configuration in Back Office Admin On the Admin page, enable the Clove Payment toggle (set to YES). Configuration in Back Office Navigation: Select Settings > Payment > Payment Method Payment Method When creating a new Payment Method (or updating an ...