POS: Tipping Options
Back Office
Apply Tip to Sales Creator or Closer
On the General Settings page: the Check Owner option determines who will own a Sale, including any applied Tip:
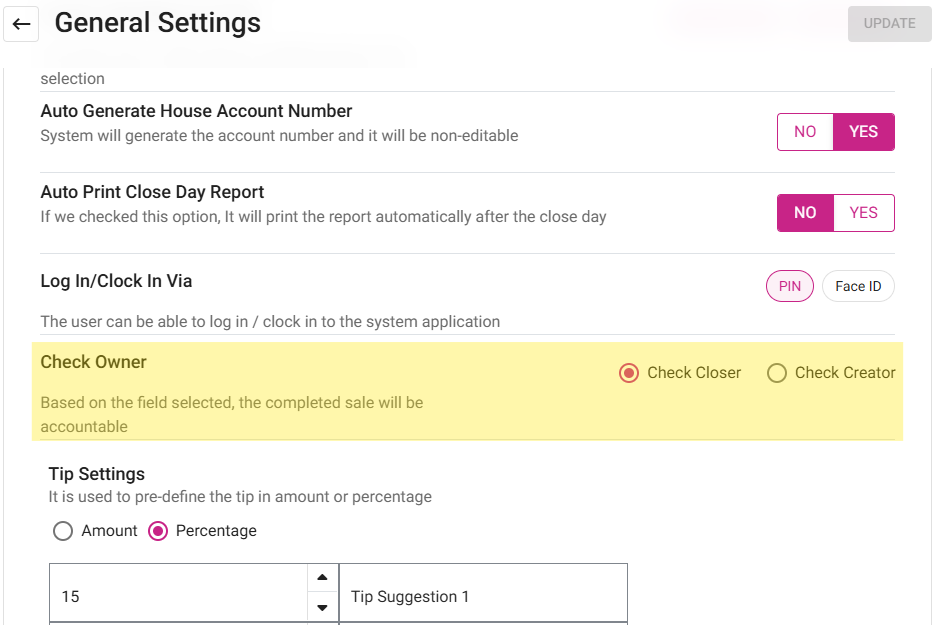
- If Check Closer is selected, the Tip is applied to the person who closed the Check.
- If Check Creator is selected, the Tip is applied to the person who created the Check.
Sale Summary Report
When selecting a Check Number:
Sale Recap Report
POS
For the Check Owner, on the General Settings page in BO:
- If Check Creator is selected: if an Employee opens a Check and Tip is applied to the Check which is Active, then another Employee logs in and closes the Check - the Tip on the Check will be credited to the Employee who opened the Check.
- If Check Closer is selected: the Tip will be applied to the Employee who closed the Check.
- It will impact the Sale Summary and Sale Recap reports.
- This scenario is compatible with all Service Types except QSR.
Related Articles
Retail POS: POS Options
The POS Options (gear) button is located at the upper-left of the POS screen, and when selected offers the following options: Back Office If selected, you will be taken to Back Office Login Page. Sync Back Office When selected, POS will be synced ...POS: Payment Screen Options
Log in to POS, add Menu Items then click on the Payment option. On the Payments page: the options Tax Exempt, Add Gratuity, Discount and Print options will appear. Tax Exempt When Tax Exempt is selected: the Tax Exempt pop-up appears, and displays ...POS: Check Options - Tax Exempt
To change a Check to become Tax Exempt: Tap on the Option button, then on the Check Options pop-up select the Tax Exempt option. After tapping the Tax Exempt option, the respective Check will be exempted from Tax. Note: Only Employees with the proper ...POS: Check Options - Store Credit
Back Office Requirements Store Credits Report - For more information, see the Discounts Report article. Note: For Store Credit, the value in the Source column will be either POS or Call Center. Roles - For more information on a Customer's Store ...POS: Check Options - Auto Discount
Create an Item Based Discount with an Auto Discount Navigation: In the Back Office for your Store, select Products/Items > Discounts > Item Based Create an Item Based Discount with the Auto Discount toggle enabled. Once the Discount is created, the ...