Retail Back Office: Enterprise Stores
Navigation: Sign into the Back Office for your Retail Store. On the left-side Navigation Panel, click Stores.
The Stores page appears, with each tile representing a Store under your Enterprise. Click on a Store's tile to access its Back Office.
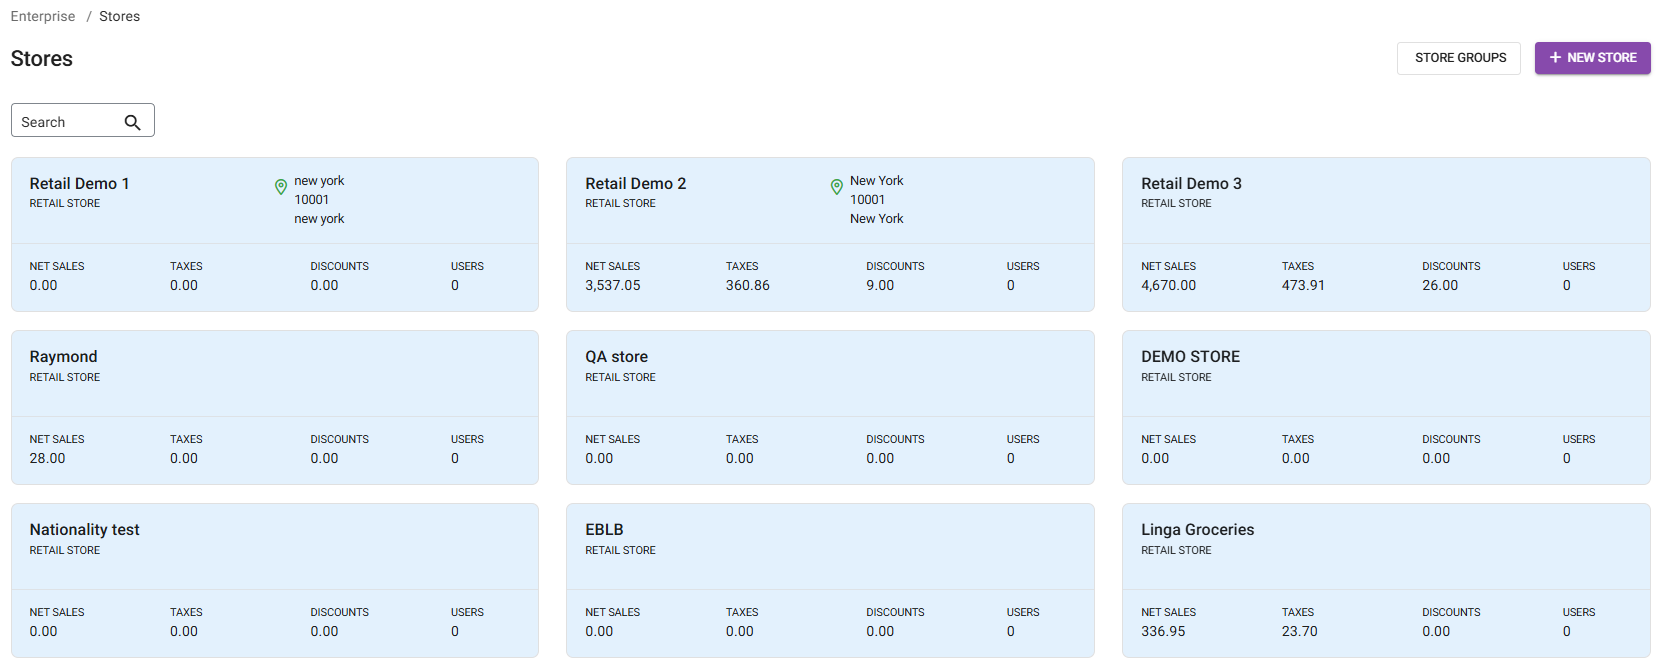
- Note: Stores may be the default page when you log in.
Store Groups
- On the Stores page, at the top-right click Store Groups.
- On the Store Groups page: click + New Group to create a new Group (the New Store Group pane appears) or click the corresponding pencil icon to update an existing Group (the Update Store Group pane appears).
- To Delete an existing group: click the Trash Can button, then click Delete again.
- On the New Store Group pane that appears: enter the Group Name, and select the Store(s) that should appear under the Group from the dropdown. When complete, click Save (or Update if an existing Group). You are returned to the main Store Groups page.
Create a New Store
- On the Stores page, at the top-right click + New Store. The New Store pane appears.
- Under the General section:
- Enter the Store Name (maximum 25 characters).
- Select the Account Type from the dropdown (it may already be locked to Retail), then select the Business Type from the dropdowns (options are based upon the Account Type selection).
- Enter the Phone Number and Email address (optional).
- Select the Time Zone from the dropdown.
- Tip: Use the Search bar over scrolling, such as typing ‘cent’ for US Central Time.
- Select the Language(s) from the dropdown. English is pre-selected by default.
- Under the Address section:
- Enter the Address Line 1 (street), and any Apt/Suite/etc. then enter the City, State, and Zip Code if applicable.
- Select the Country from the dropdown. Like with Time Zone, use the search bar.
- Select whether to Copy the Retail Items From an Existing Store. If Yes:
- Select if you want to Include Inventory Data. Note: if checked, Inventory item data will be linked between the Stores.
- Select the Store you’d like to Copy data from. You can use the Search bar to identify the store more quickly. Then select whether you want to copy the Settings of that selected Store.
- When you’re ready to create the new Store, click Save at the bottom right. You’re returned to the main Stores page and the confirmation banner 'Store saved Successfully' appears at the top right.
- To quickly find the newly created Store, begin typing the name in the Search bar.
Related Articles
Retail Back Office: Enterprise - Reports
Navigation: Sign into the Back Office. On the left-side Navigation Panel, click Enterprise. Select Enterprise Reports, and the dropdown contains options to access specific reporting Dashboards: Enterprise Reports Sale Report The Sale Report dashboard ...Retail Back Office: Enterprise - Customers
Navigation: Sign into the Back Office. On the left-side Navigation Panel, select Enterprise then Customers. When selected, the existing Customers’ details will be shown as a table with the following columns: Image, Name, E-Mail, Phone Number, Loyalty ...Retail Back Office: Enterprise Dashboard
Navigation: Sign into the Back Office. On the left-side Navigation Panel, click Enterprise. For a moment, your data will load while the banner ‘Please wait while preparing your enterprise metrics’ appears. Then, the Enterprise page is populated. On ...Retail Back Office: Enterprise - Item Configuration
Navigation: Sign into the Back Office. On the left-side Navigation Panel, click Enterprise. Then click Item Configuration. Item Configuration allows you to transfer data from one Store to other Stores to eliminate duplicate definition of the same ...Retail Back Office: Enterprise - Memberships
Navigation: Log into Back Office. Select Enterprise then under Customers select Memberships. The Memberships page contains 3 tabs: Type Plan Account Type The Type tab contains the list of membership types in table format – with columns for Date, ...