Retail Back Office: Inventory - Low Stock
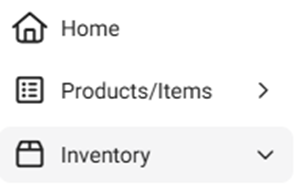
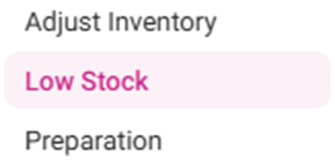
Navigation: Sign into the Back Office for your Retail Store, then select Inventory > Low Stock.
The Low Stock page appears with the Item tab. The system will automatically sort all the Low Stock Items by Vendors in table format. The name of the Vendor appears at the upper-left of each table, with a corresponding Create Purchase Order button to an make Purchase Orders for all the Items from that Vendor that are Low in Stock.
Vendor Table
- Each vendor’s table contains the following columns:
- Name – The name of the inventory item.
- Type – The type of inventory item (Retail or Menu).
- Min Quantity – The needed minimum quantity of the product.
- Available Quantity – The quantity on-hand.
- Inventory Unit – The unit of measure for the inventory item.
Create a Purchase Order
A new Purchase Order can be created by clicking the Create Purchase Order button. The New Purchase Order page appears, containing the following fields:
- Vendor – Will be pre-populated by the corresponding name of the vendor.
- Date – Today’s Date.
- Place Order Via – Select Print (default) or Email. If Email, the CC field appears to enter any additional email addresses in the CC field of the email.
- The Vendor Address and Ship To will be pre-populated based on the vendor’s information on file.
- Items To Be Ordered – Each item under the vendor currently experiencing low stock each will have its own row. Update the corresponding Quantity of each item to update the Purchase Order. The row’s Price will reflect the updated Quantity – along with the Total at the bottom.
Related Articles
Back Office: Low Stock Inventory
Sign into the Back Office then select a Store. On the left-side Navigation Panel, click Inventory then Low Stock. The Low Stock page appears, which is broken down into Inventory (default view) and Sub Recipe tabs. It will show all the inventory ...Retail Back Office: Inventory - Sync Inventory
Navigation: Sign into the Back Office for your Retail Store, then select Inventory > Sync Inventory. The Sync Inventory page appears, highlighting the benefits available to a fully synced inventory: Create purchase orders, Receive low stock email ...Retail Back Office: Store Inventory Settings
Navigation: Sign into the Back Office for your Retail Store. Click Settings, then on the Settings page under Inventory select Store Inventory. The Store Inventory screen displays settings for the store's inventory tracking and notifications. At the ...Back Office: Inventory Items
Sign into the Back Office. On the left-side Navigation Panel, click Inventory then Inventory Item. The Inventory Item page appears, with tabs for Inventory Items and Retail Items – along with a Select Categories dropdown and a Total Value On Hand. ...Back Office: Inventory Report
Log into the Back Office and select a Store. Under Reports > Inventory Reports. On the Inventory Reports dashboard, select a tab. Master Stock Purchased Item Consumption Log Compare Inventory Count Sheet COGS Adjust Inventory Inventory Item History ...