Retail Back Office: Inventory - Sync Inventory
Navigation: Sign into the Back Office for your Retail Store, then select Inventory > Sync Inventory.
The Sync Inventory page appears, highlighting the benefits available to a fully synced inventory: Create purchase orders, Receive low stock email alerts, Calculate your cogs, Theoretical vs actual inventory, Track wastage, theft and spoilage and Know your item cost details.
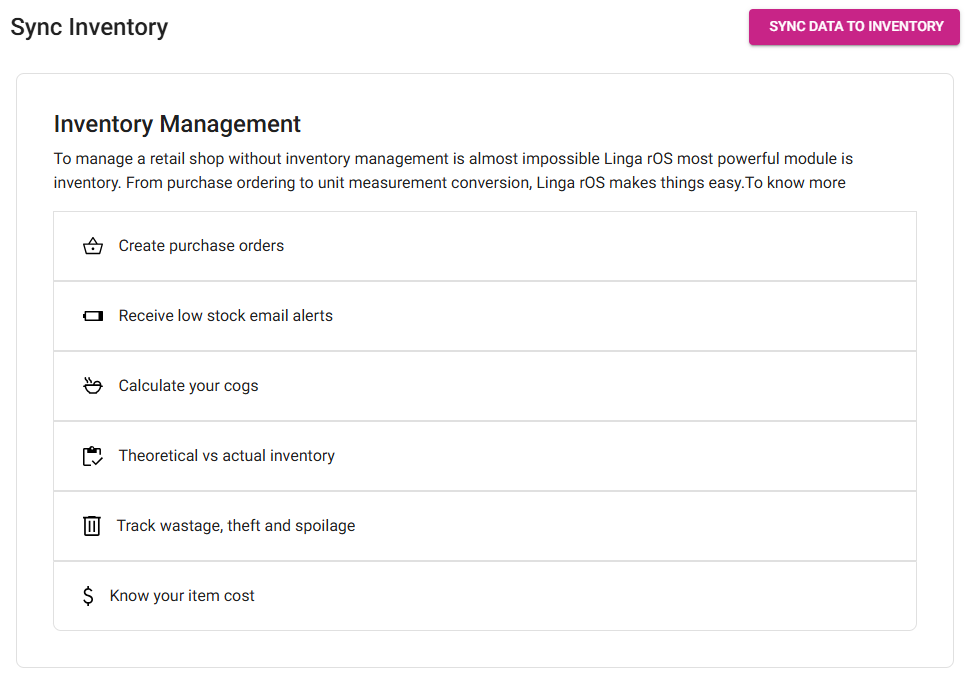
- Synchronize your data by clicking Sync Data To Inventory at the upper-right.
- The ‘Data syncing to inventory’ banner appears for a moment
- Followed by the ‘Stay Calm, Authenticating’ banner
- Then the syncing will complete.
- If you made any changes to the inventory and don’t see those changes in another Inventory tab, please sync the data manually and it will reflect.
Related Articles
Retail Back Office: Enterprise - Sync Inventory
Navigation: Sign into the Back Office. On the left-side Navigation Panel, click Enterprise. On the Enterprise page, click Central Inventory then select Sync Inventory. The Sync Inventory page appears, which highlights the benefits that come with a ...Back Office: Sync Inventory
Sign into the Back Office then select a Store. On the left-side Navigation Panel, click Inventory then Sync Inventory. The Sync Inventory page appears, highlighting the benefits available to a fully synced inventory: Create purchase orders, Receive ...Back Office: Enterprise - Sync Inventory
Sign into the Back Office. On the left-side Navigation Panel, click Enterprise. On the Enterprise page, click Central Inventory then select Sync Inventory. The Sync Inventory page appears, which highlights the benefits that come with a fully synced ...Retail Back Office: Inventory - Inventory Item
Navigation: Sign into the Back Office for your Retail Store, then select Inventory > Inventory Item, then select the Retail Items tab. The Retail Items tab displays a table along with the Total Value On Hand. The table contains the created Retail ...Retail Back Office: Inventory - Adjust Inventory
Navigation: Sign into the Back Office for your Retail Store, then select Inventory > Adjust Inventory. The Adjust Inventory screen appears, with the Retail Item tab. Buttons for Download Template, Upload Inventory Count, and + Bulk Adjustment appear. ...