Retail Back Office: Inventory Taxes Settings
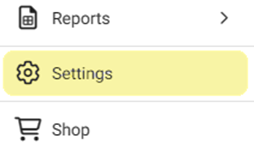
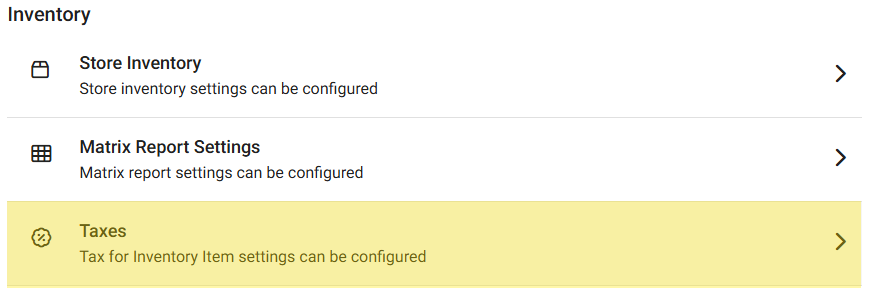
Navigation: Sign into the Back Office for your Retail Store. Select Settings, then on the Settings page appears under Inventory select Taxes.
On the Taxes screen that appears:
- Enable Taxes Toggle – If Enabled (YES), the ‘Taxes Enabled Successfully’ banner appears at the top-right and a table appears where you can create a Tax as well as view created Taxes.
- Click Edit (pencil) on a row to update an existing Tax.
- Click Delete (trash can) on a row to delete the existing Tax. Click Delete again on the confirmation pop-up to complete deletion of the tax.
- If the Tax is connected to a Category or Sub Category, it cannot be deleted.
- Click + New Tax to create a new Tax, or the pencil icon to update an existing Tax. The pane appears on the right.
- Tax Name – (Mandatory) Enter the name of the tax (maximum of 25 characters).
- Percentage – (Mandatory) Enter the percentage amount of tax to be taken out (click ▲/▼ to increase/decrease the value. Only numbers are allowed and cannot be 0.
- Inclusive – If Enabled (YES), the tax will be considered inclusive. If Disabled (NO), it will be considered an exclusive tax.
- Click Save to save the new Tax. The ‘Tax… Successfully’ confirmation banner appears.
- Click Cancel to discard the new tax information and close the pane.