Retail Back Office: Email Receipt Template Settings
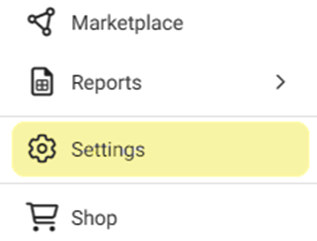
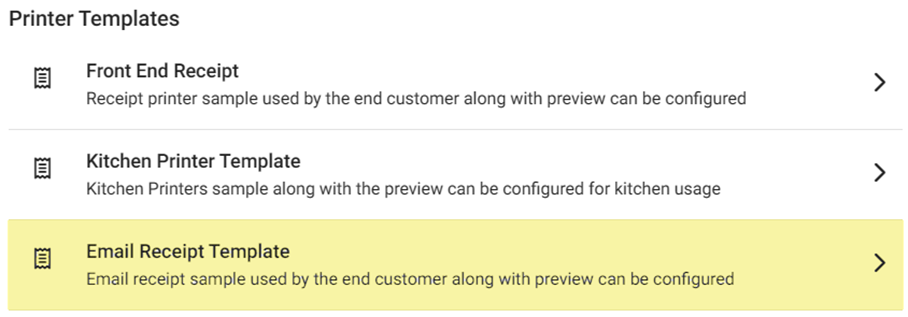
Navigation: Sign into the Back Office for your Retail Store. On the left-side Navigation Panel, click Settings. On the Settings page, under Printer Templates select Email Receipt Template.
The Email Receipt Template page is for configuring what you would like to include on Email Receipts. It contains customization sections, along with a Template Preview.
Store Info
- The below fields would appear in order (from top to bottom, based on the information entered in Settings > Store Info).
- Store Name – If selected, displays the Store Name.
- Address – If selected, displays the Address.
- Email – If selected, displays the Email Address.
- Phone Number – If selected, displays the Phone Number.
- Store Logo – If selected, you can enter a URL Link where clicking the logo will direct a customer.
- Background Color – To update the color, click the smaller square, then select the new base color and slide the circle to adjust the shading.
Receipt Details
- Select whether to have the below information appear on the receipt.
- Receipt Number – The unique ID number assigned to the Receipt (typically XX-XXXX format).
- Employee Name –The name of the Employee who oversaw the transaction.
- Date & Time – The Date and Time the receipt was printed.
- Customer Name – The name provided by the Customer.
Order Summary
- Information about Retail Items ordered on the ticket:
- Order Summary – Each Item Name, its Price per Unit (U/P), Quantity (Qty), and Amount charged towards the sale.
- Tax Summary – Adds a breakdown of individual Taxes that contribute to the Tax Total.
- Receipt Total – Total Amount of the Receipt with Tax.
- Tender Details – Adds a breakdown of the Payment Types (Cash, Credit Card, Gift Card, etc.) and their corresponding Amounts).
Additional Details
- Provides details about the conducting of the Transaction.
- Include Card Details – Displays details of the Credit Card used for the Transaction (Type, Number, Holder Name, etc.).
- Signature – A copy of the Customer’s signature on the receipt.
- Barcode – A barcode representing the transaction at the bottom of the receipt.
- Powered by Cloud POS– The phrase ‘Powered by Cloud POS’ with a link to the Support site.
- Social Icons – Options for Facebook, Twitter (X) and LinkedIn.
- Customer Feedback – Adds a ‘How was your experience’ prompt with a green smiley face or red frown face, below the Store Information section.
Related Articles
Retail Back Office: Front End Receipt Template Settings
Navigation: Sign into the Back Office for your Retail Store. On the left-side Navigation Panel, select Settings. On the Settings page, under Printer Templates click Front End Receipt. The Front End Receipt settings page is for configuring what you ...Retail Back Office: Admin - Dashboard
Navigation: Log in to Dealer Admin, then select Dashboard. On the Dashboard, you will be able to view the tiles displaying amounts such as the number of Stores using types of plans Core/Basic, Pro, and Enterprise - as well as Sales data broken down ...Back Office: Email Receipt Template Settings
Configure what you would like to include in the Email Receipt. Sign into the Back Office. On the left-side Navigation Panel, click Settings. On the Settings page, under Printer Templates click Email Receipt Template. The Email Receipt Template page ...Retail POS: MPPG Payments
Configuration in Admin Select Account > Stores, then select the Store for which the respective Payment needs to be enabled. Under the Store Settings section, enable the MPPG toggle. When you enable the MPPG credit card toggle, the MPPG details appear ...Retail POS: Clover Payments
Configuration in Back Office Admin On the Admin page, enable the Clover Payment toggle (set to YES). Configuration in Back Office Navigation: Select Settings > Payment > Payment Method Payment Method When creating a new Payment Method (or updating an ...