Retail Back Office: Membership Reports
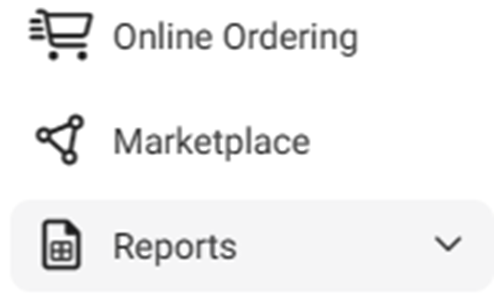
Navigation: Log into the Back Office for your Retail Store, then select Reports > Membership.
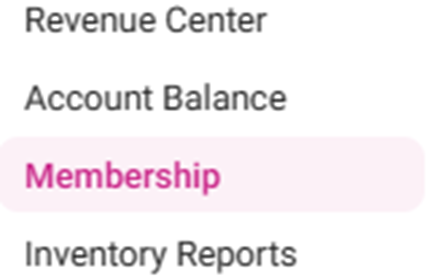
The Membership report page contains the following tab options:
Membership Summary
Membership Statement
Membership Summary
Displays the details of a Customer’s activity when using a Membership plan.
- Select from the following fields then Time Period (month) and Year (both appear when Membership Plan is selected) then click Apply.
- Customer: Select a Customer’s name (based on the customers with membership plans). Use Search to find a customer more easily.
- Membership Plan: Select a Plan name (based on the existing plans created in Back Office). Search to more easily find a plan.
- Time Period: Appears when a Membership Plan is selected, and options vary based on the selected Plan (broken down by Quarterly, Half Yearly, or Monthly).
- Year: Select from the dropdown. Search to more quickly find the year.
- Click Apply. The table with the below columns is populated:
- Customer Name: The Name of the Customer (selected from the Customer dropdown).
- Membership Plan: The Name of the Plan (selected from the Membership Plan dropdown).
- Membership ID: This displays the ID of the membership plan.
- Allowance: This column displays allowance per period.
- Allowance DED: This column displays quarterly allowance.
- Overdraft Due: Any overdraft amount that’s currently due.
- Refund: This column shows refund amount for membership plan.
- There will be columns based on the selections (The above example is for the months Apr, May, and Jun).
- Total Transaction: This shows the total amount of transactions for a period.
- Pending Allowance: Total amount that is not deducted from the allowance.
Membership Statement
Displays the details of a Customer’s activity when using a Membership plan.
- Select from the following fields then Time Period (month) and Year (both appear when Membership Plan is selected) then click Apply.
- Customer: Select a Customer’s name (based on the customers with membership plans). Use Search to find a customer more easily.
- Membership Plan: Select a Plan name (based on the existing plans created in Back Office). Search to more easily find a plan.
- Time Period: Appears when a Membership Plan is selected, and options vary based on the selected Plan (broken down by Quarterly, Half Yearly, or Monthly).
- Year: Select from the dropdown. Search to more quickly find the year.
- Click Apply. The table with the below columns is populated:
- Customer Name: The Name of the Customer (selected from the Customer dropdown).
- Membership Plan: The Name of the Plan (selected from the Membership Plan dropdown).
- Membership ID: This displays the ID of the membership plan.
- Allowance: This column displays allowance per period.
- Allowance DED: This column displays quarterly allowance.
- Overdraft Due: Any overdraft amount that’s currently due.
- Refund: This column shows refund amount for membership plan.
- There will be columns based on the selections (The above example is for the months Apr, May, and Jun).
- Total Transaction: This shows the total amount of transactions for a period.
- Pending Allowance: Total amount that is not deducted from the allowance.
Related Articles
Retail Back Office: Exchange Reports
Navigation: Log in to the Back Office for your Retail Store, then select Reports > Exchange The Exchange Report page that appears will display Today's data by default, but you can select a Time Period from the dropdown and select any Date(s) if ...Retail Back Office: Sale Reports
Department Category Sub Category Retail Item Hourly Daily Sale Recap Cashier Out Weekly Summary Sale Summary Cashier Out Weekly Summary Sale Summary Department The default tab on the Sales Report screen. It shows data from all Departments by default, ...Retail POS: Membership Payments
Membership gives the ability to organize Customers into Loyal Customers. By using Membership Account, you will be able to organize and apply Tax exemptions to Members of the group, maintain the account balance, and issue allowances. Membership ...Retail Back Office: Discounts Report
Navigation: Sign into the Back Office for your Retail Store. Select Reports > Discount Sales Created By Window – For certain reports, when a Sales Created By value is clicked, a new window opens: Upon clicking the Sale Created By employee, it routes ...Retail Back Office: User Management - Roles
Navigation: Sign into the Back Office for your Retail Store, then select User Management > Roles The Roles page appears, which displays a table of the currently existing Roles within this Retail Store, with the following columns: Create a New Role or ...