Retail Back Office: Store Scheduler Settings
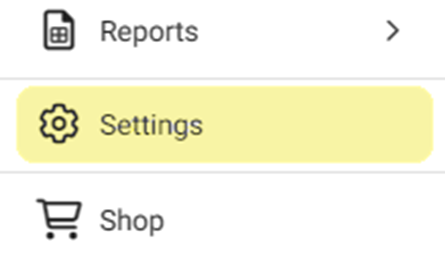
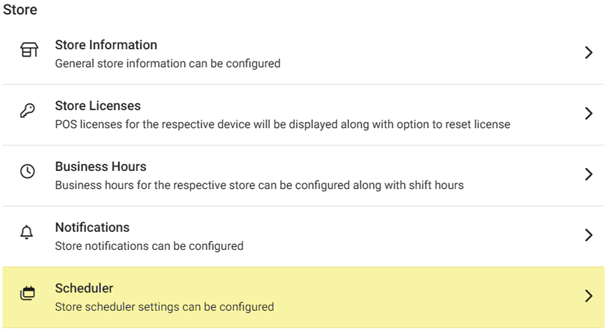
Navigation: Sign into the Back Office for your Retail Store. On the left-side Navigation Panel, click Settings. On the Settings page, under Store select Scheduler.
- On the Scheduler Settings page, enter or update the following info:
- Business Name – (Mandatory) Enter the store’s name.
- Business Type – (Mandatory) Enter the store’s type of business.
- Store Phone – Enter the store’s Phone Number (including area code).
- Store Email – (Mandatory) Enter the email address to contact the store.
- Start Day of Week – Select the start day of the business week from the dropdown.
- Store Address – Enter the store’s address (minimum 6 characters). Click-and-drag the double diagonal line icon at the bottom-right of the field to increase the viewing size.
- Currency – Select the store’s preferred choice of currency from the dropdown.
- Time Zone – Select the store’s time zone from the dropdown.
- Time Format – Select the time format (am/pm [12 hour] or 24-hour) from the dropdown.
- Date Format – Select the date format from the dropdown.
- Temperature Unit – Select the Fahrenheit (F) or Celsius (C) from the dropdown.
- Default Meal Time – Set the default time length of meals in minutes (enter the amount or use up ▲ or down ▼ arrows to increase/decrease the amount by 1.
- Default Break Time – Set the default time length of breaks in minutes (enter the amount or use up ▲ or down ▼ arrows to increase/decrease the amount by 1.
- Hours per day – If Enabled (YESHours per day and set the overtime (x) Pay accordingly by multiple of one (Example: 1.5 = 1.5x the amount of normal pay). If Disabled (NO), overtime per day will not be set.
- Hours per week – If Enabled (YES), set the overtime Hours per week and set the overtime (x) Pay accordingly by multiple of one (Example: 1.5 = 1.5x the amount of normal pay). If Disabled (NO), overtime per week will not be set.
- Holiday – To set a Holiday for this Store: Click + Holiday, then select the Day (calendar view, mm/dd/yyyy [defaults to today]) and enter the Name of the Holiday.
- Click the red trash can icon to delete an existing Holiday. A pop-up with the message ‘Are you sure you want to delete this item’ appears with Cancel and Delete options. Click Delete to delete the Holiday. Otherwise, click Cancel/Close to keep the Holiday.
- Once all needed changes have been made, click UPDATE at the upper-right. The 'Store Updated' confirmation banner appears.
Related Articles
Retail Back Office: Employees Scheduler
Scheduler provides a view of Employees Details via the Employees screen. To Add, Edit or Delete Employee information - see the Users screen. Only Admin level users are authorized to manage Employee details. Navigation: Log into Back Office for your ...Back Office: Employee Scheduler
Scheduler provides a view of Employees Details via the Employees screen. To Add, Edit or Delete Employee information - see the Users screen. Only Admin level users are authorized to manage Employee details. Log into Back Office then select a Store. ...Back Office: Store Scheduler Settings
Note: If you are logged in as a Super Admin user, you will not be able to view and access Scheduler. Sign into the Back Office and select a Store. On the left-side Navigation Panel, click Settings. On the Settings page, under Store click Scheduler. ...Retail Back Office: Scheduler
Shift Management can be performed on the Scheduler screen. Navigation: Log into Back Office for your Retail Store, then select Scheduler > Scheduler The Scheduler screen displays the following details and information: Note: The Scheduler screen ...Retail Back Office: Store Licenses Settings
Navigation: Sign into the Back Office for your Retail Store. On the left-side Navigation Panel, click Settings. On the Settings page, under Store click Store Licenses. On the Store Licenses page, each currently connected device and its activity is ...