Back Office: Customer Display Screen (CDS) Add On Settings
- Sign into the Back Office and select a Store.
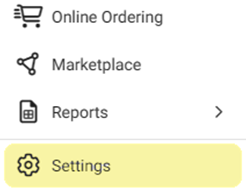
- On the left-side Navigation Panel, click Settings. The Settings page appears.
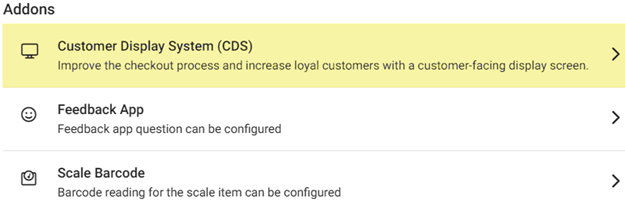
Under Addons click Customer Display System. The Customer Display System screen appears.
- Show Advertisement toggle – If Enabled (YES), the app will display ads in CDS. If Disabled (NO), ads will not appear on the CDS.

- Customer Profile Toggle – If Enabled (YES), the customer profile will display in CDS. If Disabled (NO), the customer profile will not appear on the CDS.

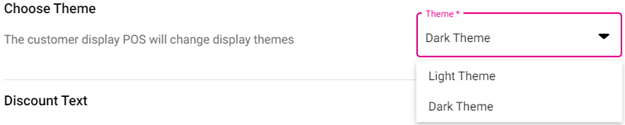
- Choose Theme – Select the Theme from the dropdown (Dark or Light).
- Determines how the CDS POS will appear to the customer.
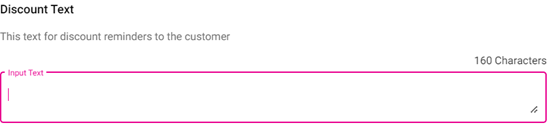
- Discount Text – Enter a message meant as a reminder of discounts to the customer, which cannot exceed 160 characters.
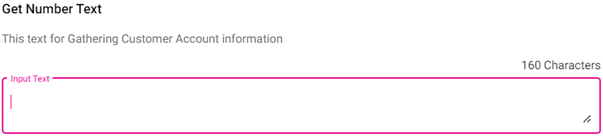
- Get Number Text – Enter a message meant for gathering customer account info, which cannot be more than 160 characters.
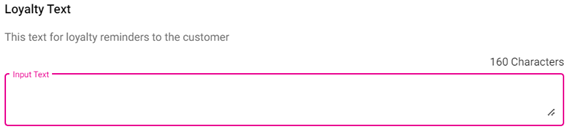
- Loyalty Text – Enter a message meant to remind the customer of a loyalty account, which cannot exceed 160 characters.
When ready, click Save at the upper-right across from the CDS title. If no updates have been made, the button will be greyed out and unable to be clicked.

Related Articles
Retail POS: Customer Display Hardware Settings
On the Hardware Settings screen, select the Card Reader tab. The screen displays the device name of the Customer Display which is connected to the POS. Back Office License Settings Navigation: Log into Enterprise, then select Settings. Under Licenses ...
POS: Operation - Customer Display Hardware Settings
Back Office CDS Back Office Settings For more information, see the Back Office CDS Settings Knowledge Article. License Settings Navigation: Log into Enterprise, then select Licenses > License Settings To integrate CDS with the POS of a Store: the ...
Retail Back Office: Customer Display Screen (CDS) Addon Settings
Navigation: Sign into the Back Office and select a Store. On the left-side Navigation Panel, click Settings. On the Settings page, under Addons click Customer Display System (CDS). The Customer Display System (CDS) settings screen enables you to ...
POS: Customer Profile Screen
Adding a Customer to an Order To add a Customer to the Order: Tap on the icon of a person's profile with a plus (+) sign at the top of the Order section. The Add Customer screen appears. To add an existing Customer to the Check: type their name in ...
Back Office: Feedback App Add on Settings
Sign into the Back Office and select a Store. On the left-side Navigation Panel, click Settings. The Settings page appears. Under Addons click Feedback App. The Feedback App screen appears. The Feedback App page contains the option to add up to 2 ...